|
|
Post by holmz on Feb 5, 2016 4:15:11 GMT -5
Nothing too fancy, but the minister is happy. An MDF piece to hold here papercraft stuff, so mostly shelves for DVD sized boxes, and a couple of others. I could not talk her into 'wood', but the little Zeta-P2 did well... (I'll attached it to the wall on the morrow..) Time to look at Tenzo connectors next. 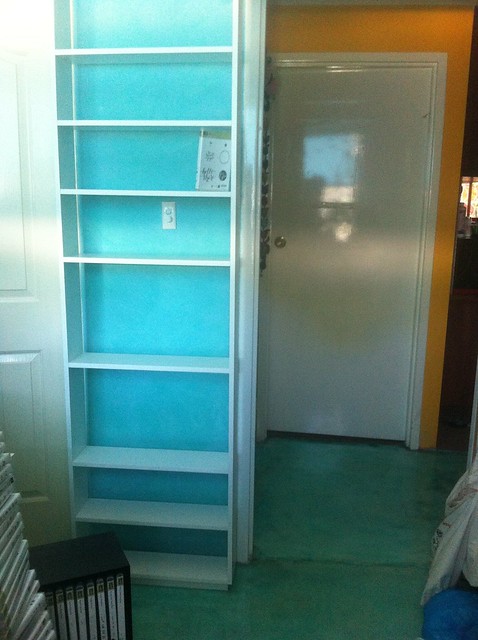 |
|
|
|
Post by holmz on May 22, 2017 8:47:01 GMT -5
I took some Jarrah veneered MDF (18-mm) and attached 12-mm strips of jarrah with biscuits.
The corners were mitred at 45 degrees.
It all fit together ok dry, but glueing had the glue setting up before I could get the parts moved around...? It was 1-1/2' x 1 foot, or thereabouts. Maybe more like 200-mm x 1-cubit.
So in the end there were some gaps on two of the mitred corners.
i also used rooglue on two sides and gorilla glue on the other two. (Starting to sound like it has a bit of a Noah's ark theme...)
both glues were going off within a couple of minutes @ ~ 85F /30C.
How does one best do the mitres?
And how it is best to assemble them at glue up time?
Or for. Doors and drawer fronts is it best to have two opposing strips the glued on, and then trim the panel and put the remaining sides full length? So everything is square with no mitres?
Then today I tiold the Mrs take a look at it.
"Ordinary" and "S-Haus" was mentioned, with the obvious strips sticking up.
I took the Cantex to it, then hit it with 320.
I got the approving nod after that.
Next step is to varnish it, and then deposit in the bathroom for a while to test it in the wet for use as a cabinet material. (More of Noah's work here)
So just a test peice, and a test of the used Cantex which performed well, with some learning curve.
Making the 1/2" (12-mm) strips with the track saw was non-optimal. A tablesaw should work better. But I only needed on decent edge for glueing and planing on pulling the finished dimension back to ~10-mm.
A bathroom cabinet is a bit of work, with the design being the hardest part.
|
|
|
|
Post by henrun on Jun 10, 2017 1:08:22 GMT -5
"How does one best do the mitres?
And how it is best to assemble them at glue up time?
Or for. Doors and drawer fronts is it best to have two opposing strips the glued on, and then trim the panel and put the remaining sides full length? So everything is square with no mitres?"
If you have the strips at the correct length I find it is best to start at a short end corner and then work around the piece with something backing the board so you can keep it square/true while working around.
I start at short end corner then a long side, next long side and then put/tap in the last bit making sure I have something backing the piece so I don't tap it in out of square. Now I can attach clamps usually by having another support piece on the other side so I can clamp it over the long side.
With shelves on site I have sometimes started with the long backside and pin nailed it in place so it would not shift around in the glue up mess and then work my way round. In those cases I would sometimes pin nail the sides - you can still tap the strips if needed but they won't slide around.
For doors I have only done on site trim pieces once and then I started with bottom end strips and pin nailed them and then did the rest without pins.
"Or for. Doors and drawer fronts is it best to have two opposing strips the glued on, and then trim the panel and put the remaining sides full length? So everything is square with no mitres?"
Depends on look. This works well too if you have the opposing "width strips" done first, then cut to width and the last two strips attached for length/height for stiles (are they called stiles?) which can be slightly oversized and cut to size after the fact - or at the right length and attached lastly.
I am currently doing sliding doors for the bed room - "stylish on a budget". Stiles are oversized in length - both for cutting of ripping and routing defects on the ends since they are quite tall/long.
Horisontal pieces are exact.
|
|
|
|
Post by henrun on Jun 10, 2017 9:44:48 GMT -5
I was in a hurry when I wrote the above so did not have time to think while writing...
In short, if you have at least one fixed side or something to hold the piece in check, glueing and trueing usually ends up right.
I usually work with a stopstrip on a board so both trim and board/door/other are flush and can join up along a fixed stop. The stopstrip I usually screw down but sometimes I just nail it in place.
If it is very critical glue up which needs some pressure on the joint I use a straight piece that I tap in towards the joint with a wedge - using a stop block held in place with a clamp or two for providing the stop for the pressure block/strip and wedge.
Another stop strip/block at the other end will ensure that you can't "overtap" the wedge or have glued up trim sliding in any direction. It does not have to be anything fancy or even square. Just line it up along on the adjacent corner side from the stop strip and nail/screw/clamp it down - if your piece is square the stop blocks will be squared up.
I don't know if I make any sense but I am rocking a slight head ache so words... ...brain... ...hurts
|
|
|
|
Post by holmz on Jun 11, 2017 2:24:43 GMT -5
I am thinking of a jig that locates the part so that the 45 is nestled up against the panel at the root of the 45.
Then using a 23ga or 18 pin to hold in place left to right and clamping it up.
I am now trying to decide on 18 ga brads or 23 ga pins.
The Jarrah is 12-mm thick and is between teak and walnut in grain and hardness.
For Melamine maybe the 23ga?
I can also use the pinner/nailer for melamine glue ups I think... (without splitting/chipping-out the melamine)
I put some 50% thinned Epifanes on the panel yesterday and the 25% thinned on today.
A couple more coats after today's coat dries and then I put the test panel in the shower for a water test.
|
|
HenRun out and about
Guest
|
Post by HenRun out and about on Jun 11, 2017 4:10:37 GMT -5
Good plan, leave a little gap at the end so your corner does not risk being blunted when tapping them in of you support with a right angle created by two strips/blocks. Or have the one or singled side support run past the corner end so you can tap the other gently against it. To pin nail and clamp would be my choice too.
|
|
|
|
Post by henrun on Jun 11, 2017 11:18:56 GMT -5
Holmz: I am not 100% sure which ga would be best for melamine - I often use 23ga/pins for glue ups provided there is enough material to "bite" into. 12mm Jarrah on Melamine might be a challenge for the pins unless you have an air nailer, my Makita nailer would leave pins proud at times but the cheap chinese air nailer my colleague bought for the woodshop has yet to fail. If you can go long pins I would go that route, if not, then shorter nails. As long as there is no risk of nails curving out of the surface it is ok I guess. I usually go nails for attaching stop blocks etc and nails if I need to nail into the material/finished product. Post some pictures of the finished product when you are done.  |
|
|
|
Post by holmz on Jun 12, 2017 3:36:27 GMT -5
I am thinking the 1850GB or the 1850 that is ~100 $US for the melamine (But run off of air, so I will just assume I need to run the compressor) But then for the Jarrah and with a new day for rethinking it,... I am thinking I probably just need to make a jig and glue 1 section of edging at a time. Basically the plan was to cut the panels, attach the edging and then retrim the final dimensions. So running wood with pins through the saw does not seem overly wise, and I doubt I can pull a pin out with pliers even if it is set through a paint stick to leave the head exposed. I put the third coat of varnish on the test panel today. I learned that I will need to do these 1 side at a time. I was doing both side (plus the edges) and putting them on upside down a spiked shoes... and today the whole panel slid leaving some nice channels in the wet varnish. Then I tried brushing on some more varnish and it was like dragging snot across it. It is certainly good enough for water testing it, and working through the process of things to avoid in real-life Ok - here is where it is at... The instructions said put the varnish on wood. So what did I do?... I tried it on some shellac.  Rustoleum is the importer of Zinser in Australia, but they do not import the waxless Seal-coat (TM). So I used some mastercraft flakes and put a strip on one side and a patch on the other. Side #1: 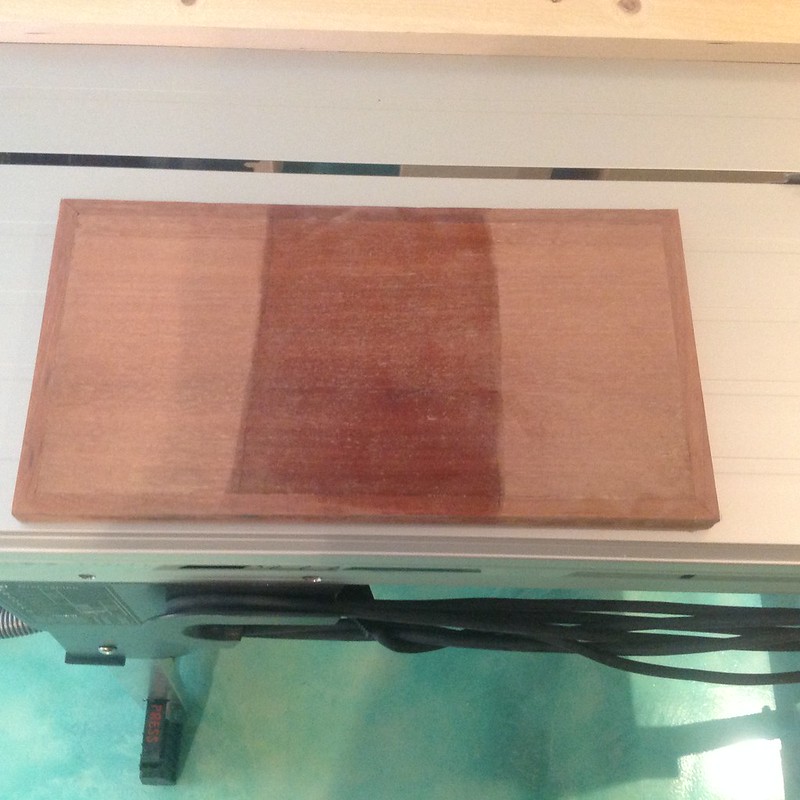 Side #2: 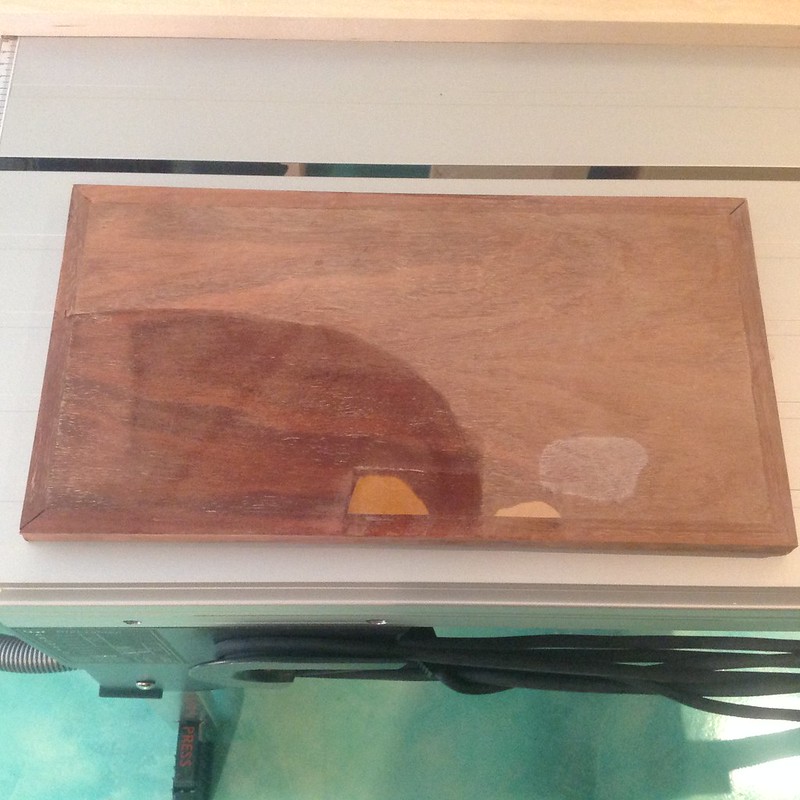 For coat #1 I thinned the varnish 50% as per the instructions and it sponged in. It was ~0C (32F) over night and about 15C/60F during the day. I chucked it in the oven at 50C for an hour before sanding for coat #2 Coat #2 was thinned 25% Same oven trick for 1/2 hour before sanding for coat #3 Right after the third coat: 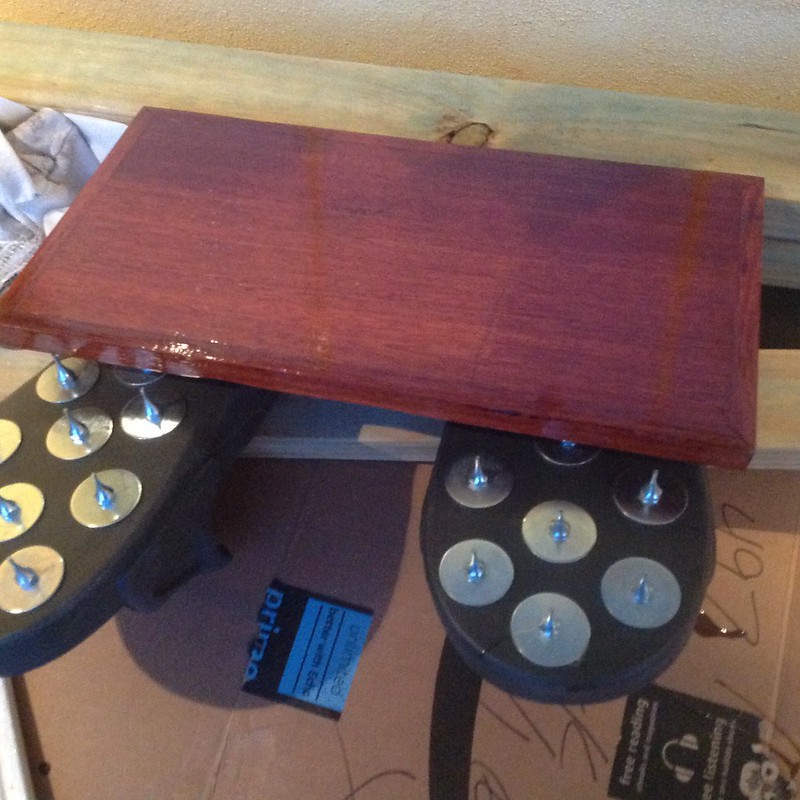 I will bring it inside later and then chuck it in the oven tomorrow. Then chuck it in the tub for testing. (There are some small gaps on a few of the corners... This is what the pins were being considered for) |
|
|
|
Post by henrun on Jun 18, 2017 3:17:29 GMT -5
Oh, I see - sorry for the tardy reply by the way!
If cutting to size after the fact I would not pin down the stiles/rails.
The longer side I would make "exact" size/length and then make the shorter trim pieces to fit with a possible fraction of a mm oversize when dry fitting and then trim again.
Looking at the picture I would have set up a block on each corner side and put a clamp across the short width board and forced the longer ends in toward the short sides. A stop block or edge clamp would prevent the short side from sliding out. I try to keep the corners visible so I can see glue press out and or adjust.
When glueing up I would focus on the corners to avoid too much pressure on the middle of the trim piece before having command of the corners.
If the gaps in the corners are at the tip (outside) I would consider adding a fraction of a degree of cut to that mitre to shut them up (not standard practice but it does work on some types of wood that are flexible) and make sure that the trim pieces inside length are never shorter in length than the supporting board/piece.
Looking forward to the end product - that stain/color looks nice!
/ Henrik
I'll see if I can dig up some corners of my own - both good and bad. It is a learning curve/process...
|
|
|
|
Post by holmz on Jul 9, 2017 5:07:48 GMT -5
Less fancy today... Working on a 4'x8' carcass to having off the garage wall. Pretty much done today (around dark) with a few screws left before I cleat it onto the wall. More crap off the floor  The eldest daughter asked, "will you swear more in the Cabinette carcass or the printer set up?"... I said, "prolly the cabinet." I was wondering why the 45 "cleat cut" seemed a mm or 2 away from the splinter strip... I set the MT55 saw down, and it slowly fell off the table (being over-centre, leaned at 45 degrees for the last cut)... The turrettes started as I hacky-sacked it on the way down, but it was fine. the printer was also crap... |
|
|
|
Post by holmz on Jul 16, 2017 6:19:58 GMT -5
|
|
|
|
Post by kraftt on Jul 16, 2017 8:57:29 GMT -5
Excellent.
|
|
|
|
Post by holmz on Jul 16, 2017 16:51:51 GMT -5
And a little car slots in just below the bottom of the the wall unit carcass |
|
|
|
Post by holmz on Aug 3, 2017 8:25:06 GMT -5
OK - Been working on a cover for where a swamp cooler formerly sat.
A swamp cooler is an evaporative job that was in-vogue a few decades back.
There is a central duct under the slab that carried the cool air through out the house.
I'll post pictures when it is done... And getting a lot of conceptual help from the Haus-Boss so changes to the plans have been dynamic.
|
|
|
|
Post by holmz on Aug 3, 2017 8:34:34 GMT -5
The other project that there is a drainage issue when it rains, and where the water has cascaded off the roof has resulted in erosion which has further exacerbated the problem. I used a laser level and created a topi map in the back and around the side. The next step if to contour the ground to restore a slope away from the foundation/Slab. Then pack it down. Then either concrete, pavers, or something else....? My master-planner sent me this: www.bunnings.com.au/james-hardie-hardiedeck-board-3000-x-196-x-19mm-decking_p0710711And fancies it as a surface... I am thinking perhaps over some concrete...? The plan will be to have it sloped slightly and then potentially a spoon drain in the middle of a ~12'(4M) wide area to jettison the water out towards the front yard. This is hair-brained scheme is something that I would appreciate some knowledgeable advise on... Perhaps calidecks ? as the other idea was the concrete, or some footings and a low deck... But I still need to address moving water, which mean recontouring the dirt with a slight slope. And like effluent, it flows downhill. Any input is appreciated. |
|


